Install OpenShift baremetal IPI on homelab, using nested virtualization
Warning: This document / project / repository / playbooks should be used only for testing OpenShift Container Platform 4.x and NOT for production environments.
In this article, I’ll explain how to deploy Red Hat OpenShift Container Platform using the installer-provisioned cluster on bare metal (IPI), but instead of using bare metal nodes, for my homelab I use nested virtualization simulating bare metal nodes.
Update 18-09-2022
Now, with the use of redfish emulator sushy-tools, by default, only one baremetal network should be used, with the advantage of removing the provisioning network.
Introduction
I use Ansible playbooks to install OpenShift Container Platform 4.x on a couple of (similar) Intel NUC, to test IPI bare metal installation; but instead of using bare metal nodes, I use virtual machines on NUC hosts.
The advantages of using this approach, is spanning resource requirements to multiple, little and usually cheaper hosts, instead of using only one, bigger host with embedded BMC; but the playbook is flexible to be used also against one, bigger host; for example, I used on Hetzner a “bigger” host to deploy all in one OpenShift master and worker nodes.
All OpenShift hosts will be created as a virtual machine with nested virtualization upon your NUCs.
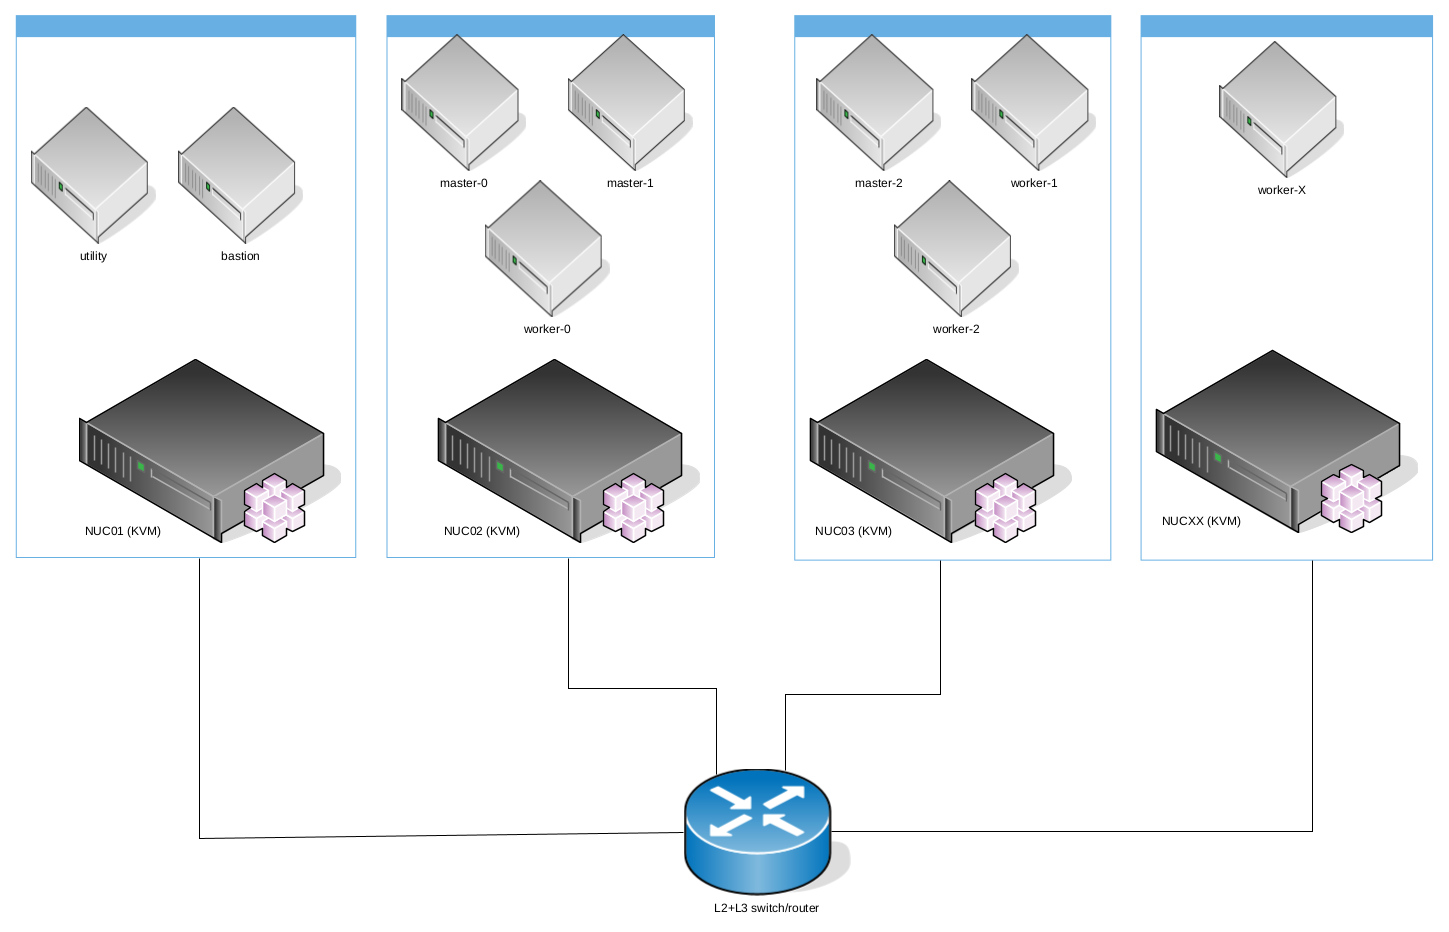
Architecture using multiple hosts
In the following example, multiple hosts are used and could be added in the future, for example to add more worker nodes.
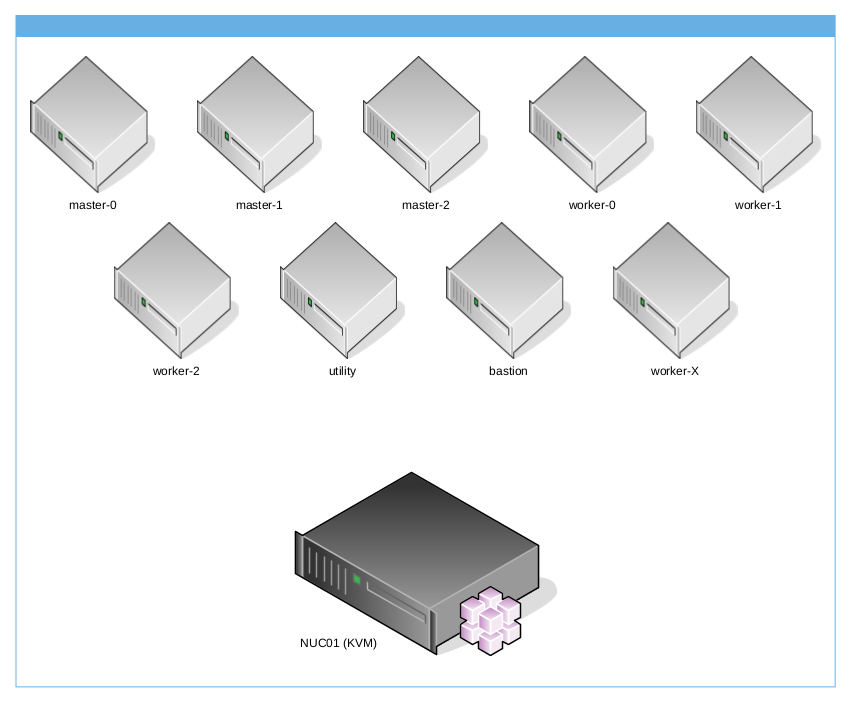
Architecture using only one host
In the following example, only one host is used. For example, you can rent a dedicated server on Hetzner, with CentOS Stream 8, and running against it the playbook prepare-hypervisor.yaml you will have a single KVM hypervisor, reachable on the internet, with iptables rules to route api and apps to OpenShift and NAT rules to allow master and worker nodes to reach “Internet”
Requirements
Networks
If you want to run on only one host all virtual machines, you can skip this task, otherwise, if you want to use multiple NUC hosts, you need to setup your switch with one baremetal network, where baremetal network could be a native VLAN or tagged by your NUC Linux bridge, . This is required if you use a trunked network/cable.
The default configuration will use these L2 and L3 settings:
| VLAN | Name | Subnet | Native | Bridge | Gateway |
|---|---|---|---|---|---|
| 2003 | Baremetal | 192.168.203.0/24 | bm | 192.168.203.1 |
Operating System and packages
Your Linux NUC hosts require the following packages installed and working:
- libvirt
- qemu
- nested virtualization
- libguestfs
- sushy-tools
- ssh
there is no constraint on which Linux distribution to use. For example, I use Gentoo, but you can use RHEL 8, CentOS Stream 8, Ubuntu, Arch…
If you’re using CentOS Stream 8 on your NUCs, you can use the Ansible playbook prepare-hypervisor.yaml to properly setup your NUC(s):
- Clone ocp4-in-the-jars repository:
$ git clone https://github.com/amedeos/ocp4-in-the-jars $ cd ocp4-in-the-jars - Create an Ansible inventory host for kvmhost group, where for each host you have to specify a single, free baremetal_ip, the content could be something like this:
$ cat hosts-kvmhost [kvmhost] centos01 baremetal_ip=192.168.203.3 ansible_ssh_user=root ansible_ssh_common_args='-o StrictHostKeyChecking=no -o UserKnownHostsFile=/dev/null' centos02 baremetal_ip=192.168.203.4 ansible_ssh_user=root ansible_ssh_host=192.168.201.10 ansible_ssh_common_args='-o StrictHostKeyChecking=no -o UserKnownHostsFile=/dev/null' - create a custom-variables.yaml file:
$ touch custom-variables.yaml - review baremetal network in
variables.yamlfile, where, if you’re running all VMs on only one host you can leave as is, otherwise adapt to your trunked network and set new values into custom-variables.yaml; in the following example, I’ve changed bridge names, networks CIDR and MTU:$ vi custom-variables.yaml bridge_prov: br0 bridge_bm: baremetal baremetal_net: net: 192.168.243.0 netmask: 255.255.255.0 prefix: 24 reverse: 243.168.192 gateway: 192.168.243.1 ntp: "103.16.182.23,103.16.182.214" dhcp_start: 192.168.243.90 dhcp_end: 192.168.243.110 mtu: 3400 vlan: 2003 - review kvmhost variables, where, if you’re running all VMs on only one host, you can leave as is, otherwise adapt to your needs, setting new values into custom-variables.yaml file; for example if you need to configure your multiple NUC bridges with your correct L2+L3 settings change provisioning_bridge_isolated and baremetal_bridge_isolated variables from True to False, instead if you want that your NUC act as baremetal network default gateway change enable_baremetal_gw from True to False:
$ vi custom-variables.yaml kvmhost: enable_selinux: True reboot_timeout: 1200 enable_portfw: True replace_ddns_duckdns: False provisioning_bridge_create: True provisioning_bridge_isolated: False baremetal_bridge_create: True baremetal_bridge_isolated: False enable_baremetal_gw: False set_hostname: True set_hosts: True additional_hosts: personal_hosts.j2 create_ssh_key: True - run prepare-hypervisor.yaml playbook:
$ ansible-playbook -i hosts-kvmhost --extra-vars "@custom-variables.yaml" prepare-hypervisor.yaml
Red Hat Login, Subscription and RHEL qcow2
In order to run Ansible playbooks, you need to pass it your Red Hat login/password, if you don’t have it subscribe yourself to Red Hat Developer Program
Create a Red Hat Developer Program membership
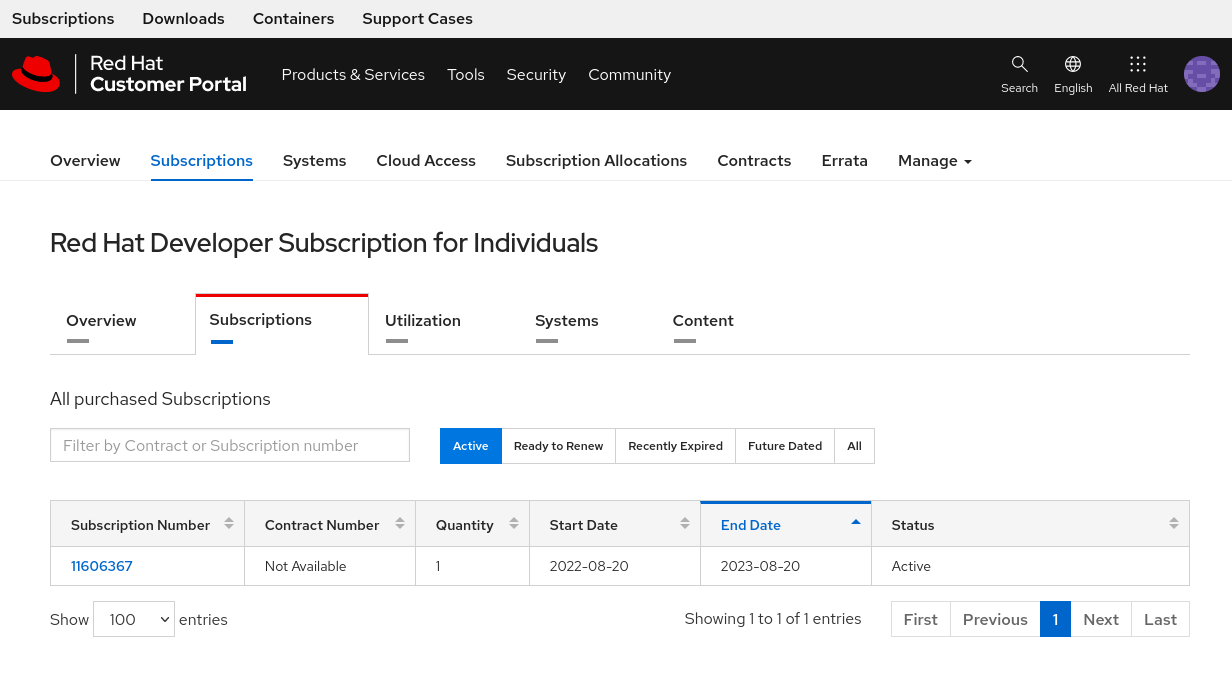
- go to Red Hat Developer Program and create a new user. Once you have done, click on tab Subscriptions and then click on Red Hat Developer Subscription for Individuals
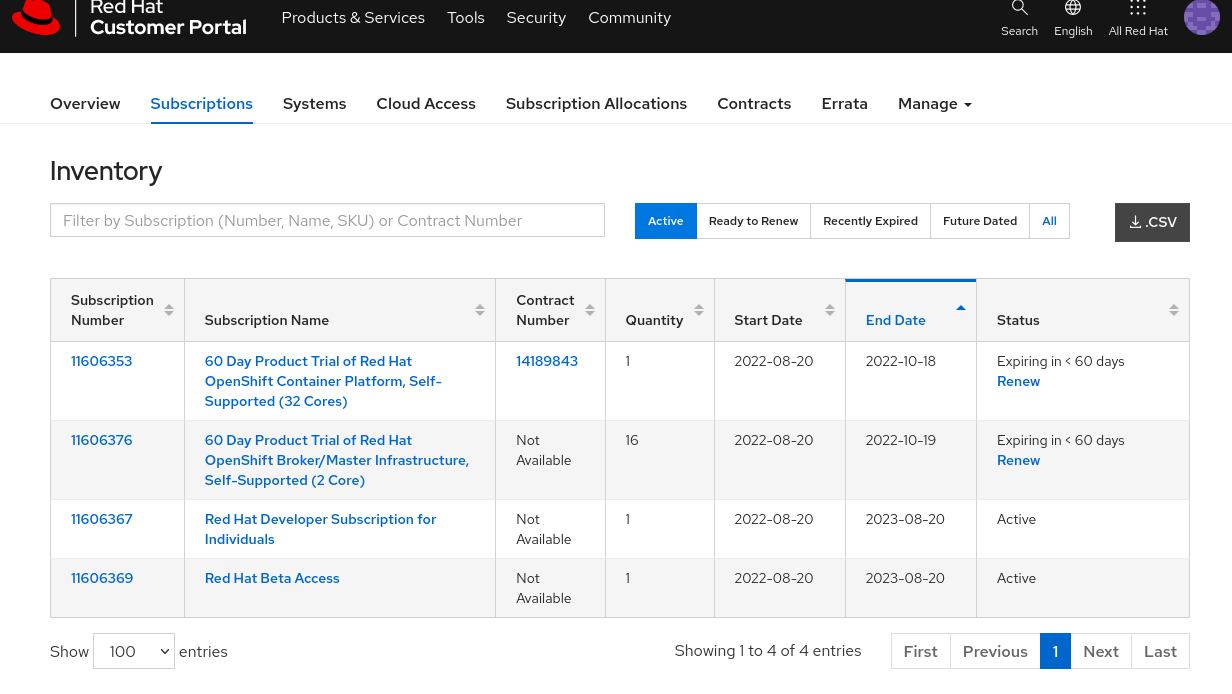
- click on sub tab Subscriptions:
-
click on the Subscription number and copy the Pool ID;
-
now you can fill in your custom-variables.yaml file your rh_subcription_user, rh_subcription_password and rh_subcription_pool:
$ vi custom-variables.yaml
rh_subcription_user: <YOURRHUSERNAME>
rh_subcription_password: <YOURRHPASSWORD>
rh_subcription_pool: <YOURPOOLID>
Download a pull-secret
Now you need to download a valid pull-secret.
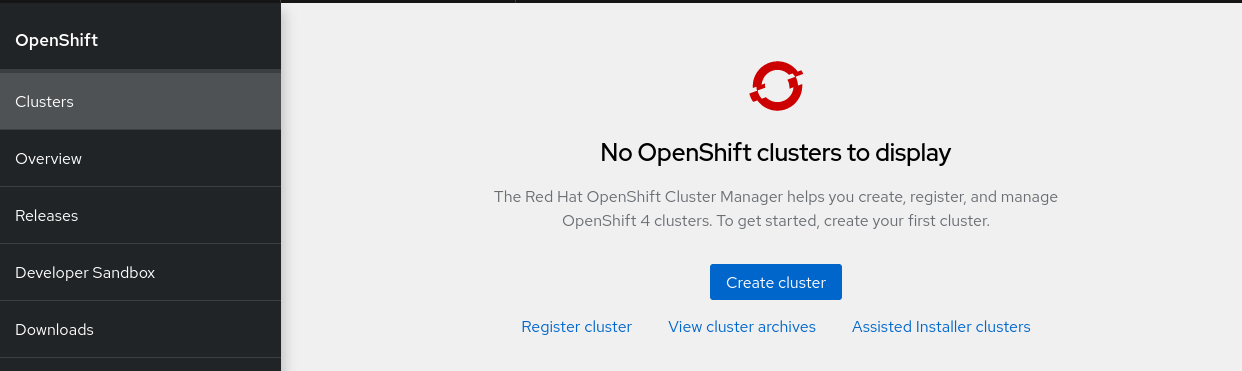
- go to Red Hat Console, click on OpenShift and then click on Create cluster:
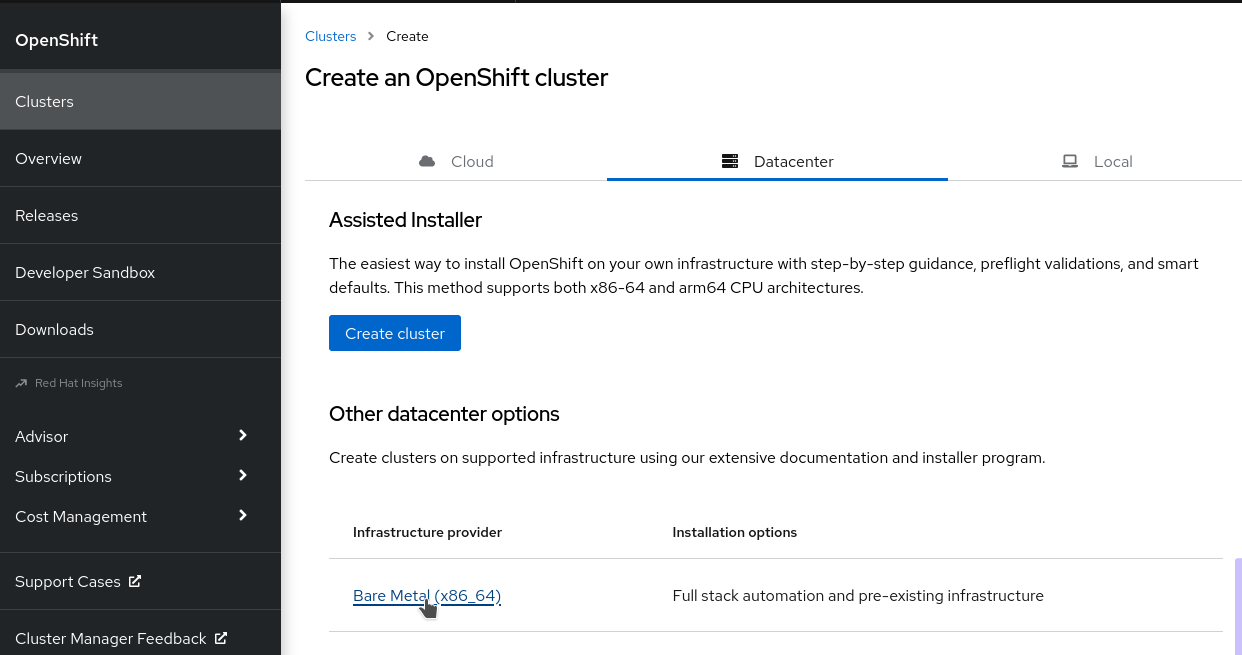
- click on Datacenter tab and then on Bare Metal(x86_64) link:
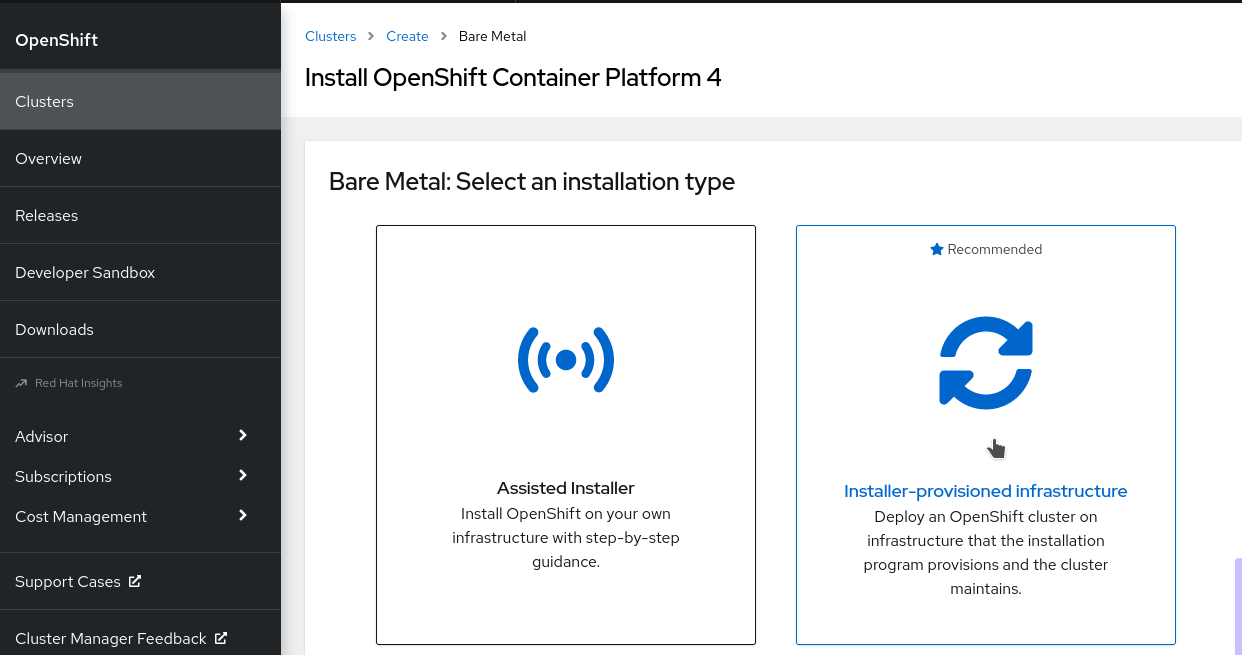
- click on Installer-provisioned infrastructure:
- click on Copy pull secret:
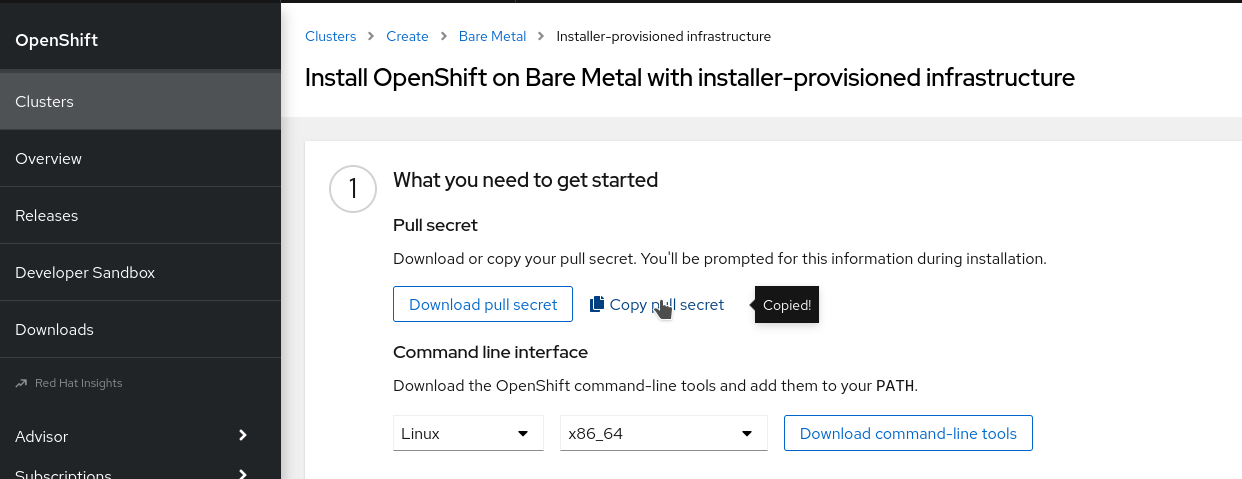
and paste it into pull-secret.txt file, removing the last blank line:
$ vi pull-secret.txt
$ wc -l pull-secret.txt
1 pull-secret.txt
Download RHEL 8.6 qcow2
Two virtual machines, utility and bastion are based on standard RHEL 8.6 qemu KVM file.
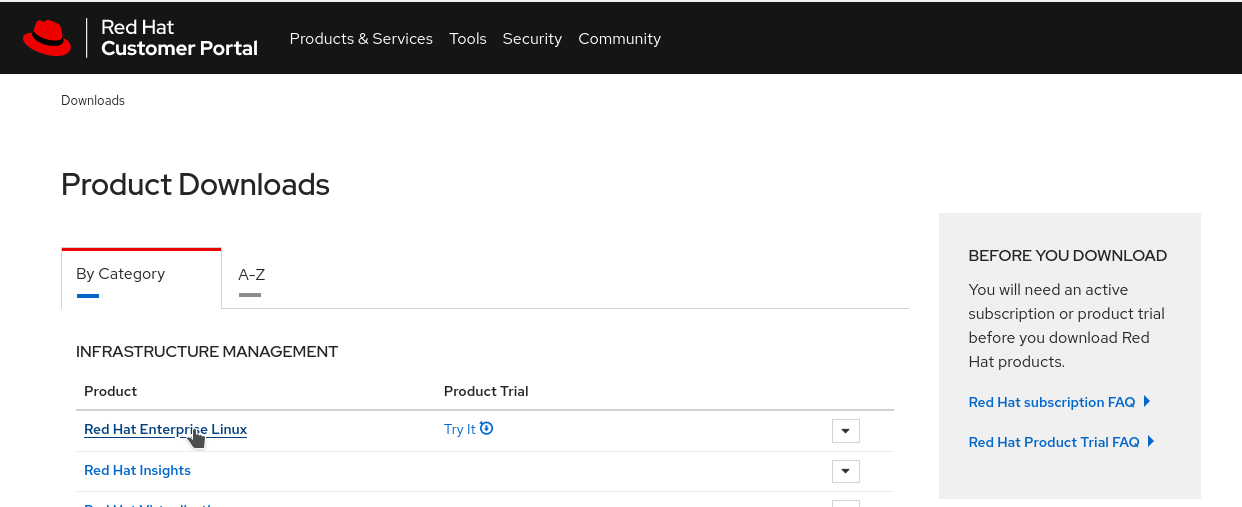
- go to Red Hat Downloads and click on Red Hat Enterprise Linux:
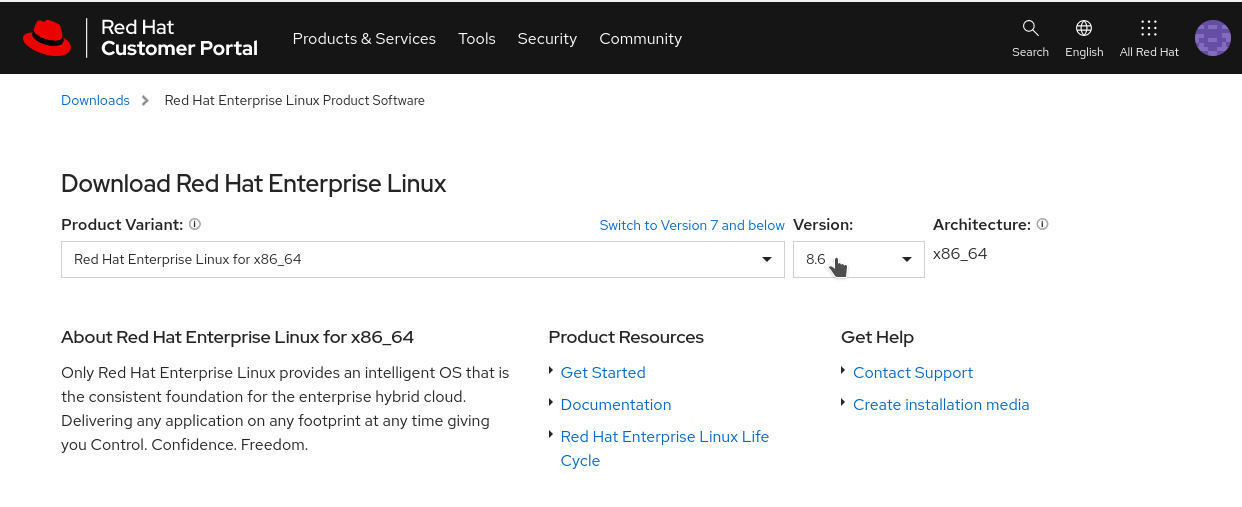
- select version 8.6:
- click Download Now button for Red Hat Enterprise Linux 8.6 KVM Guest Image:
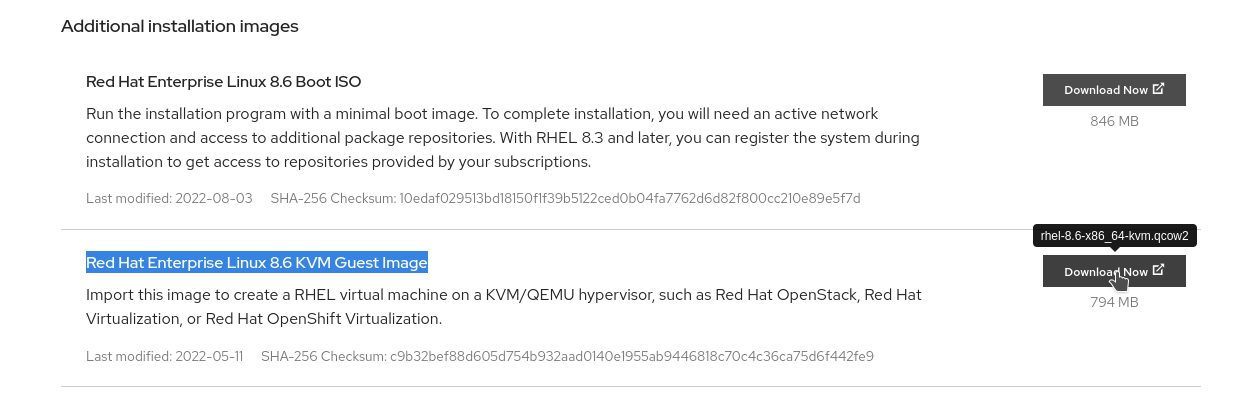
remember to put this qcow2 file on all your NUC host under /root/images/rhel-8.6-x86_64-kvm.qcow2:
$ scp rhel-8.6-x86_64-kvm.qcow2 <NUC HOST>:/root/images/rhel-8.6-x86_64-kvm.qcow2
Edit Ansible inventory
If you’re installing all VMs in only one host / hypervisor / NUC, skip this chapter, otherwise if you want to balance your VMs across multiple hosts, hypervisors, NUCs, you need to specify how many workers you want and on which KVM host / NUC system, every virtual machines (utility, bastion, masters and workers) will be created; for doing this you need to create a custom-bm-ansible-nodes.json file where you can specify hypervisor (NUC), redfish IP and port and MAC addresses, where redfish ip usually is the baremetal_ip defined on hosts-kvmhost inventory file.
- copy from all in one file bm-ansible-nodes.json:
$ cp bm-ansible-nodes.json custom-bm-ansible-nodes.json - edit custom-bm-ansible-nodes.json file with your customization:
$ vi custom-bm-ansible-nodes.json
where, for example, if you want to run master-0 node (VM), on hypervisor centos01.exameple.com, establish Ansible SSH connection with root user:
...
    "master_nodes": [
        {
            "name": "master-0",
            "state": "present",
            "hypervisor_name": "centos01.example.com",
            "hypervisor_user": "root",
            "hypervisor_ssh_key": "~/.ssh/id_rsa",
            "hypervisor_image_dir": "/var/lib/libvirt/images",
            "provisioning_mac": "52:54:00:00:32:00",
            "baremetal_mac": "52:54:00:00:33:00",
            "vbmc_pre_cmd": "",
            "vbmc_ip": "192.168.201.102",
            "vbmc_port": "623",
            "redfish_ip": "192.168.203.1",
            "redfish_port": "8000",
            "baremetal_ip": "192.168.203.53",
            "baremetal_last": "53"
        },
...
Run the Installation
If you haven’t created customization file variables custom-variables.yaml file, nor custom inventory custom-bm-ansible-nodes.json file, just run the main.yaml playbook:
$ ansible-playbook main.yaml
otherwise pass them as Ansible extra variable file:
$ ansible-playbook --extra-vars "@custom-variables.yaml" --extra-vars "@custom-bm-ansible-nodes.json" main.yaml
then wait 1-3 hours until the installation completes.
Post installation checks
Connect to your bastion virtual machine:
$ ssh kni@<BASTIONIP>

# if you haven't changed IP this should be 192.168.203.50

$ ssh kni@192.168.203.50
check clusterversion:
$ export KUBECONFIG=/home/kni/ocp-lab/auth/kubeconfig

$ oc get clusterversion
check cluster operator:
# output should be empty
$ oc get co | egrep -v '4\.[0-9]+\.[0-9]+\s+True\s+False\s+False'
Optional - Clean up
If you want to clean up everything, run the cleanup.yaml playbook:
WARNING: the following command will delete all resources created!
$ ansible-playbook cleanup.yaml
if you have custom variable files, pass them to ansible-playbook command:
$ ansible-playbook --extra-vars "@custom-variables.yaml" --extra-vars "@custom-bm-ansible-nodes.json" cleanup.yaml
Optional - Set dynamic dns and valid certificate
If you want to update your cluster with a dynamic DNS entry, and with it, create a valid certificate for your cluster, first create a valid token and domain on Duck DNS; after this, edit your custom-variables.yaml with:
$ vi custom-variables.yaml
....
duckdns_token: YOURTOKEN       #### <= put here your valid token on duckdns.org
cluster_name: YOURDOMAINONDD   #### <= put here your valid domain on duckdns.org
base_domain: duckdns.org
domain: "YOURDOMAINONDD.duckdns.org"
enable_ddns_duckdns: True
enable_letsencrypt: True
then you can run the installation.